How to Start Studying Histology Without Getting Lost (Studying Histology Part 1)
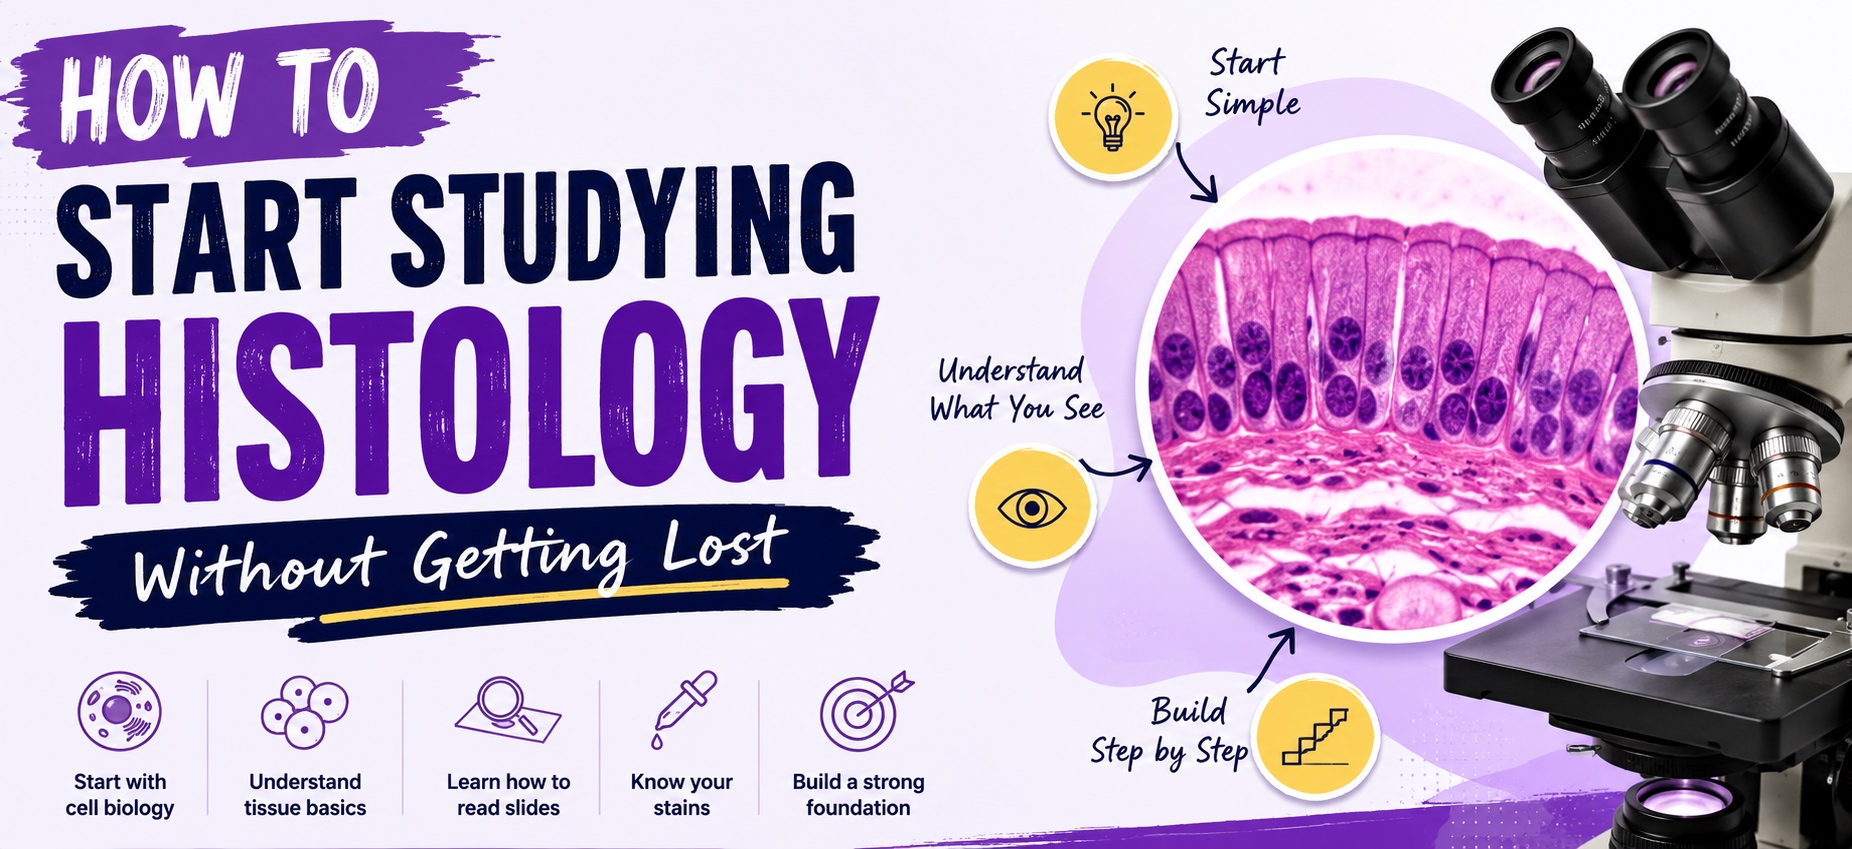
Histology can feel strange at first because it does not look like the rest of the medical school subjects.
In anatomy, structures are large enough to point to. In physiology, the logic usually follows a process. In biochemistry, pathways may be painful, but at least the names are written in front of you.
Histology is different. You open a slide and suddenly everything is pink, purple, round, flat, folded, or blurry. One tissue looks like another. A structure that seemed obvious in the atlas looks completely different under the microscope. Before long, students start thinking, “I am just bad at histology.”
Usually, that is not true.
Most students struggle because they start in the wrong place. They jump straight into organ systems before they understand the basic visual language of histology and do not learn from their missed questions.
Before you try to identify kidney, thyroid, liver, lung, or intestine, you need to understand what cells look like, how tissues are organized, and why stains make structures appear the way they do.
In other words, start with cell biology first and follow this ladder:
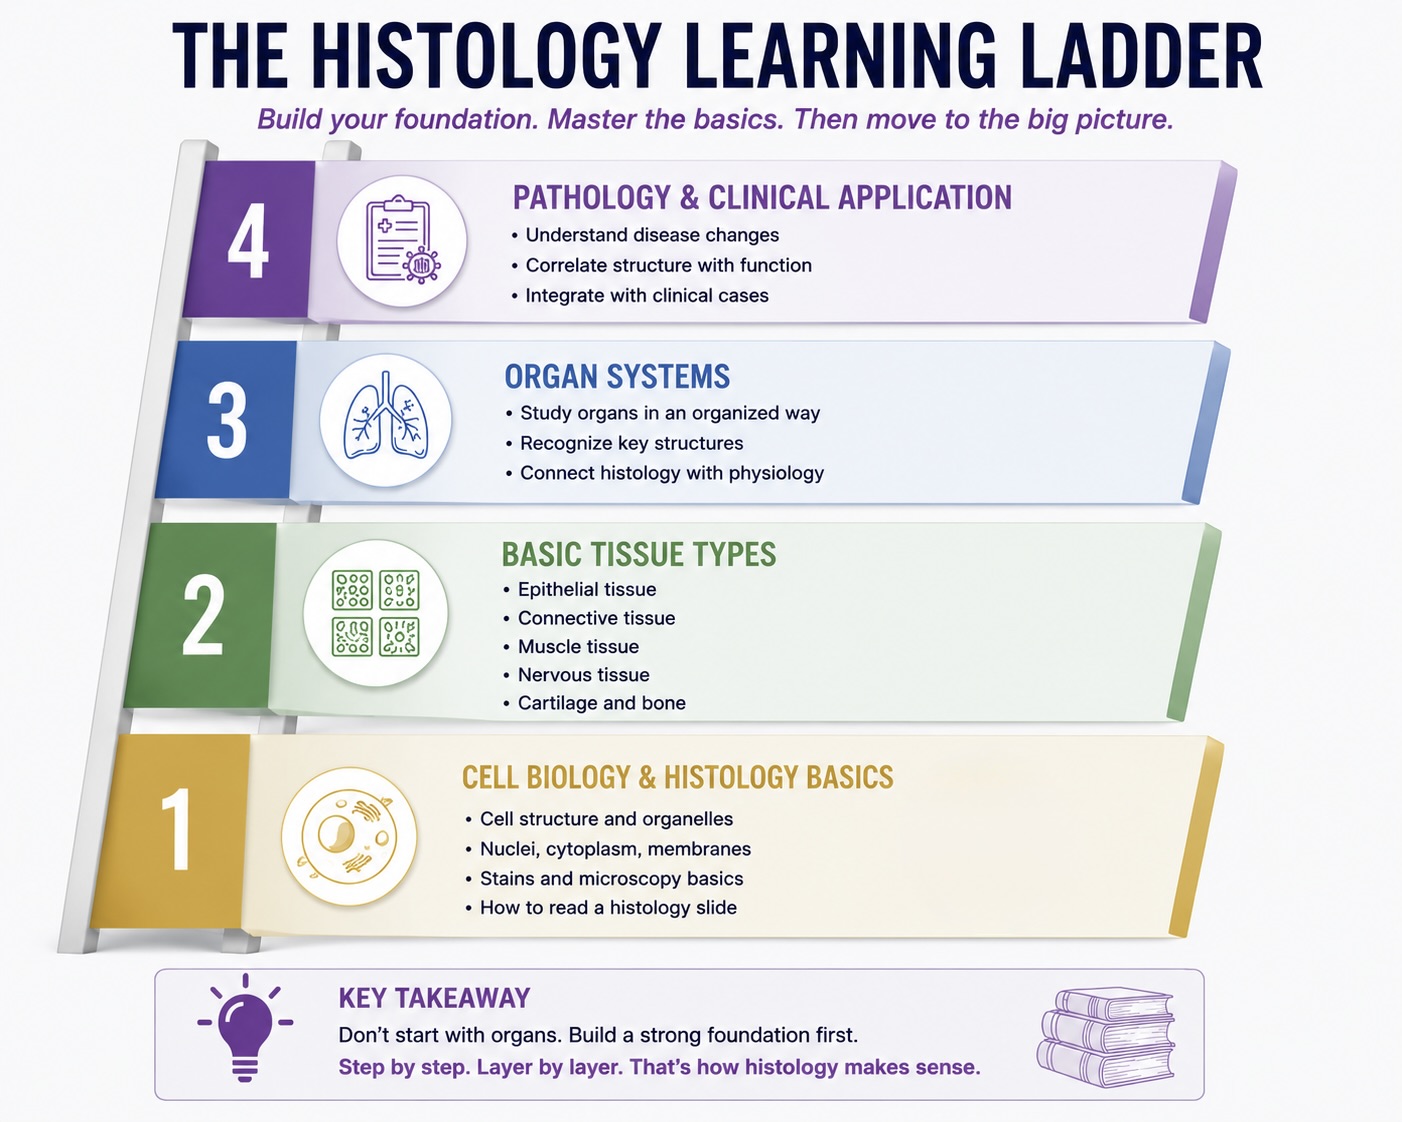
Histology Starts With Cell Biology
A histology slide is not just a picture of an organ. It is a picture of cells arranged into tissues.
That means your first goal is not to memorize every organ. Your first goal is to recognize the basic parts of a cell and how groups of cells form patterns.
Start by learning what these look like:
Nuclei
Cytoplasm
Cytoskeleton
Organelles
Cell membranes
This sounds basic, but it matters. Think of cell biology as the alphabet of histology. Tissue types are the words. Organ systems are the sentences.
Learn What the Stain Is Showing You
Most early histology slides are stained with hematoxylin and eosin, often called H&E.
You do not need to become a staining expert, but you should know the basic idea:
Hematoxylin stains nuclei blue-purple.
Eosin stains cytoplasm, collagen, and many extracellular proteins pink.
That one fact explains a lot.
If an area looks very purple, it probably has many nuclei packed close together. If an area looks more pink, it may contain cytoplasm.
This helps you make sense of slides instead of just reacting to colors.
For example, lymphoid tissue often looks very dark purple because it contains many densely packed lymphocytes. Smooth muscle often looks pink because the cytoplasm is prominent. Connective tissue may look pale pink because of collagen and extracellular material.
Once you understand what the colors mean, histology becomes less random.
Do Not Start With Organ Systems Too Early
A common mistake is to start with organ slides immediately.
Students open a slide of the small intestine and try to memorize villi, crypts, goblet cells, lamina propria, muscularis mucosae, submucosa, muscularis externa, and serosa all at once.
That is too much if you do not already understand basic tissue organization.
Before organ systems, learn the main tissue types:
Epithelial tissue
Connective tissue
Muscle tissue
Nervous tissue
Cartilage and bone (specialized connective tissue)
These five tissue types show up again and again. Once you can recognize them, organs become easier because you can break them into familiar parts.
The small intestine is not just “small intestine.” It is epithelium arranged for absorption, connective tissue supporting the mucosa, smooth muscle moving contents forward, and nervous tissue helping coordinate function.
That is much easier to remember than a random list of labels.
Study Histology Like a Visual Language
The biggest shift is this: stop treating histology as a list of labels.
Treat it like a visual language.
When you see a slide, ask:
“What is the general tissue type?”
“What pattern do I see?”
“What features prove the answer?”
“What else could this be?”
“What feature rules out the look-alike?”
“What types of cells are present?”
That last question is important. The types of cells present determine the function of the tissue and organ.
A Simple First-Week Histology Routine
Here is a realistic way to start.
Day 1: Learn Microscopy and staining basics
Know the basics of microscopy. Understand what pink and purple usually mean. Have a general idea of the different staining techniques and what they are used for. Look at simple examples of nuclei, cytoplasm, collagen, muscle, fat, and blood vessels.
Day 2: Review cell structure on slides
Find nuclei, cytoplasm, membranes, organelles, and cytoskeleton. Do not worry about naming every organ yet.
Day 3: Learn epithelial tissue
Focus on cell shape, number of layers, surface specializations, and lumens.
Day 4: Learn connective tissue
Look at collagen, fibroblasts, adipose tissue.
Day 5: Learn muscle tissue
Compare skeletal muscle, cardiac muscle, and smooth muscle.
Day 6: Learn nervous tissue basics
Look at neurons, glial cells, peripheral nerves, and basic organization.
Day 7: Learn cartilage and bones
Study cartilage and bone as specialized connective tissues. Focus on how chondrocytes, lacunae, matrix, osteocytes, osteons, and marrow spaces appear on slides. Compare hyaline cartilage, elastic cartilage, fibrocartilage, compact bone, and spongy bone.
How to Learn From Missed Questions
One of the fastest ways to improve in histology is to stop treating missed questions as random mistakes.
A missed histology question usually tells you something specific. Maybe you did not recognize the tissue type. Maybe you jumped into high power too quickly. Maybe you confused two similar-looking structures. Maybe you knew the organ but forgot the feature that proves it.
Instead of only checking the correct answer, ask:
What tissue type was being tested?
What visual clue did I miss?
What did I confuse it with?
Did I miss this because of content knowledge, slide recognition, or rushing?
What should I look for next time?
For example, “I missed a question on small intestine” is too vague. A better note is:
I confused small intestine with colon because I focused on goblet cells and missed the villi.
That kind of missed question review is much more useful because it gives you a specific fix. Next time, you know to check for villi before deciding between small intestine and colon.
This is where MissedQ can help. Instead of letting missed questions disappear after an exam, you can track them by tissue type, organ system, look-alike, and reason for error. Over time, your missed histology questions start showing patterns.